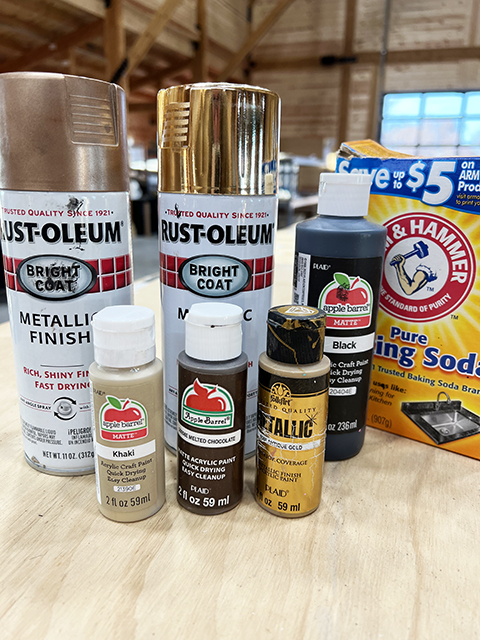
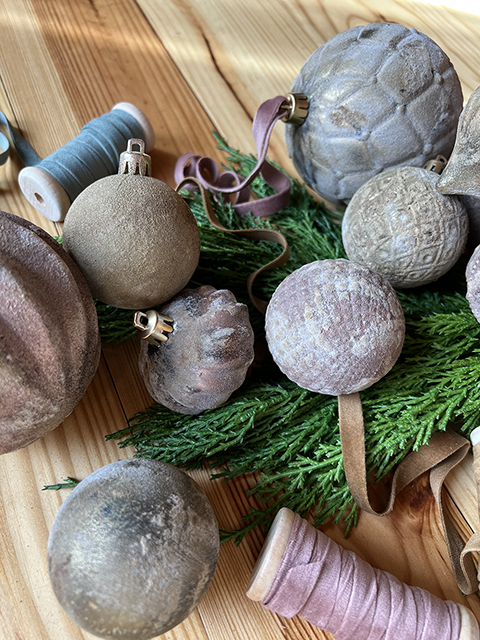
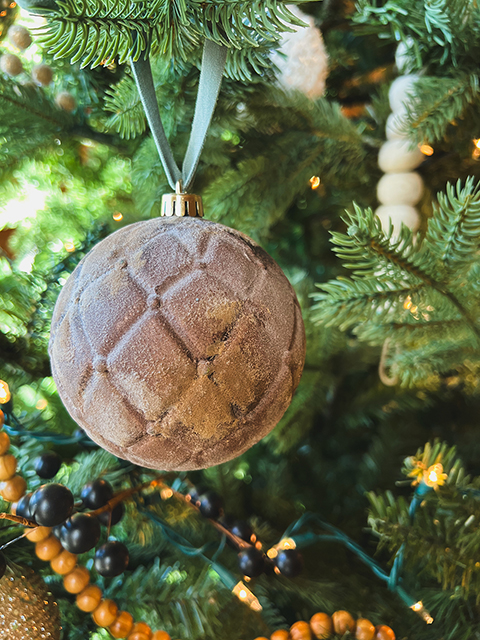
If you’re like me, you change your mind on decor constantly. So naturally when it comes to Christmas decor and decorations for my tree, I am no different. I have so many old ornaments I don’t use that I figured why not give them a face lift! This DIY is seriously SO easy and a perfect way to upcycle any old ornaments you have. To get started, below is a list of supplies you will need:
Supply list:
- Old ornaments
- Spray paint (any colors you want to use!)
- Craft paints (the small size ones from Hobby Lobby or Walmart are perfect.)
- Baking Soda
- Paint Brushes
- Matte Clear Coat Spray Paint
- Ribbon
- Latex gloves
How To Make
Truthfully, I had no idea what I was doing when I started this. But through a little trial and error, these ornaments turned out so perfect and provided the vintage/rustic feel I was going for. I am someone who likes to see simple steps, so below is breakdown of how I went about making these ornaments.
1.) Take off the top hanger part of the ornament (whatever it’s called!) Paint your ornaments black and let dry. I just used a larger bottle of craft paint from Walmart to paint the ornaments first with a layer of black. I found this helped to not have the colors of the original ornaments come through. This does not have to be perfect, more less just an even coat to cover.
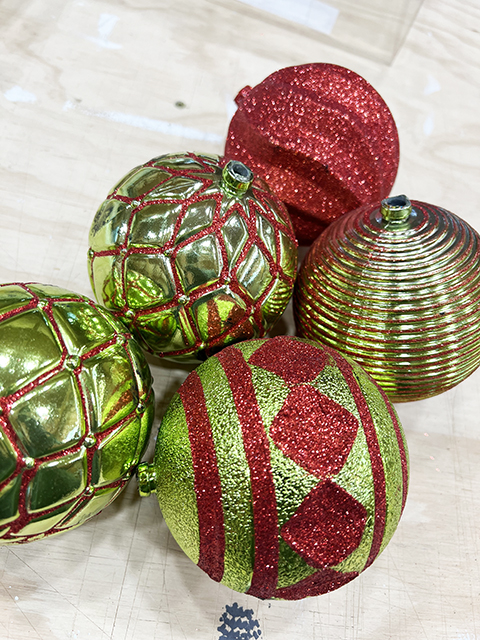
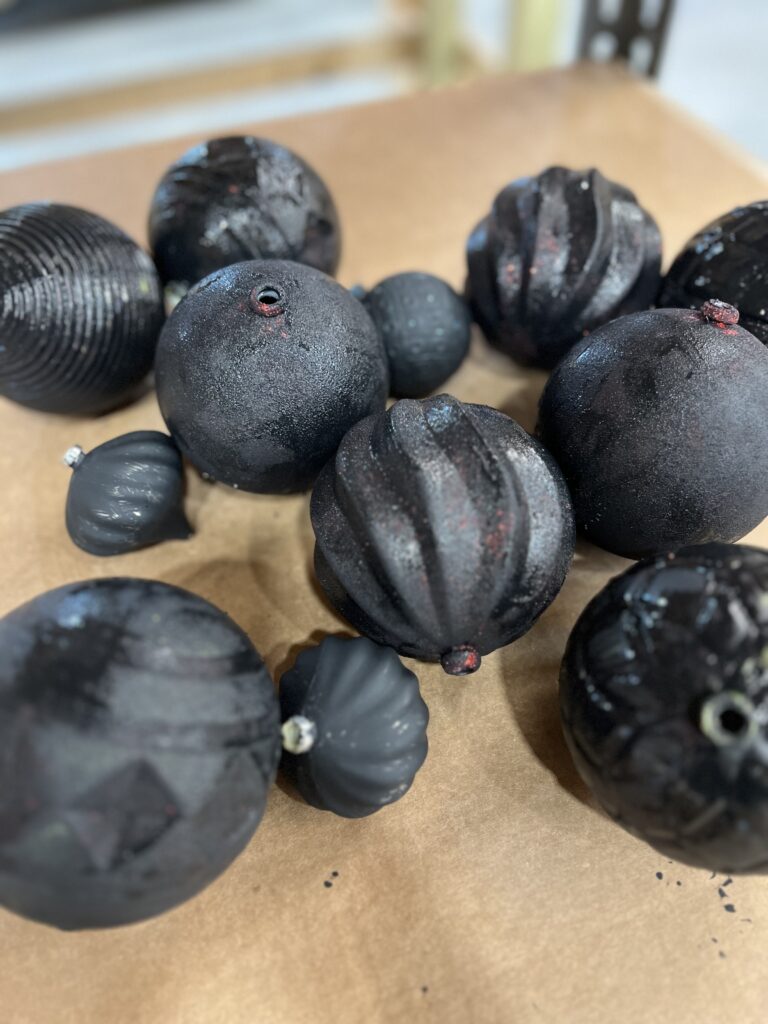
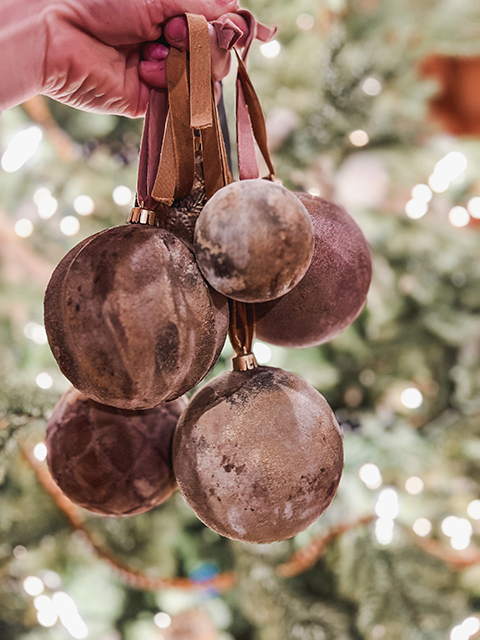
2.) Once the black paint is dry, I went in with spray paint to coat the ornaments. You can use whatever color of spray paint you want, I used metallic gold and metallic rose gold to achieve the look I was going for.
3.) Once coated with spray paint, use baking soda to sprinkle all around the ornament to give it a velvety type texture. Then go in with any paint colors you want to use and dab these paints throughout the ornament to help give it more dimension and that vintage type feel. This part does not have to be perfect AT ALL. In fact, the more random and messy, the better!
4.) I just continued this process of adding spray paint, baking soda and regular paints until I reached a look I liked with each ornament. Again, I think the best part about making these is they do not have to be perfect and if you maybe added too much paint somewhere, just put some more baking soda on it or layer more spray paint. It’s really that easy!
5.) Once everything was completely dry, I did spray a matte clear coat over the ornaments to help ensure nothing flaked off and to help the baking soda stay more in place.
Below is a short video to hopefully help show the steps a bit better as well! The colors I used for these ornaments are also included in the image below. If you like the look of the velvet ribbon, I did get that on Amazon and that can be found here. Tag us on social media if you try this project! We always love to see WillowBee in the wild!
