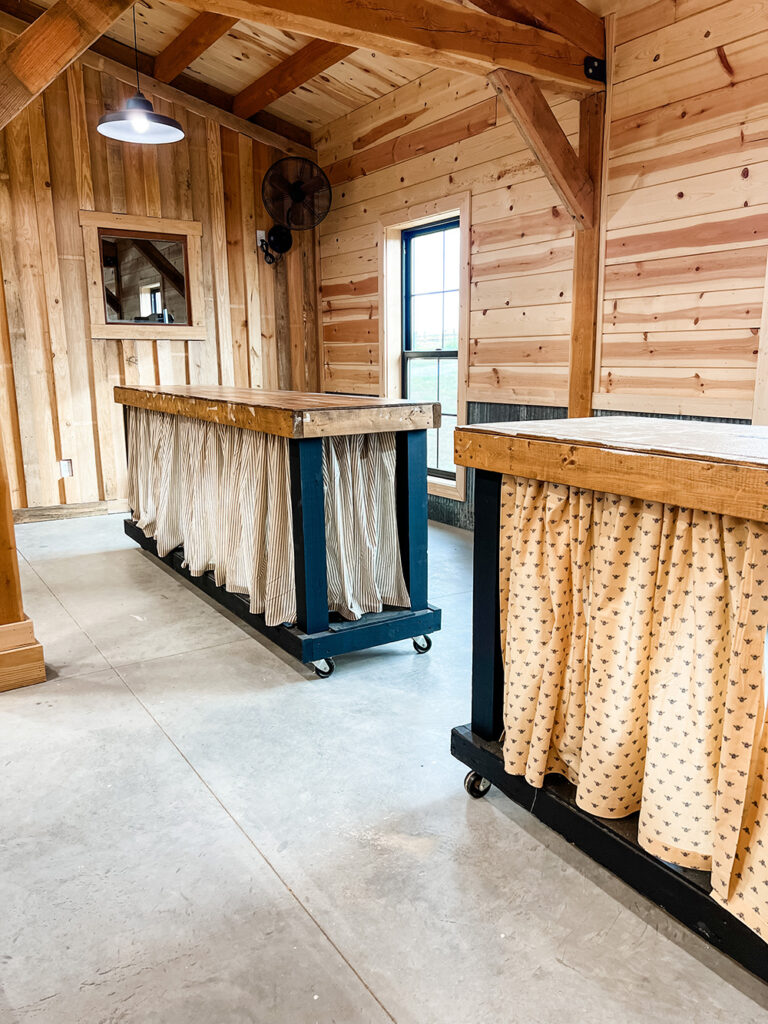
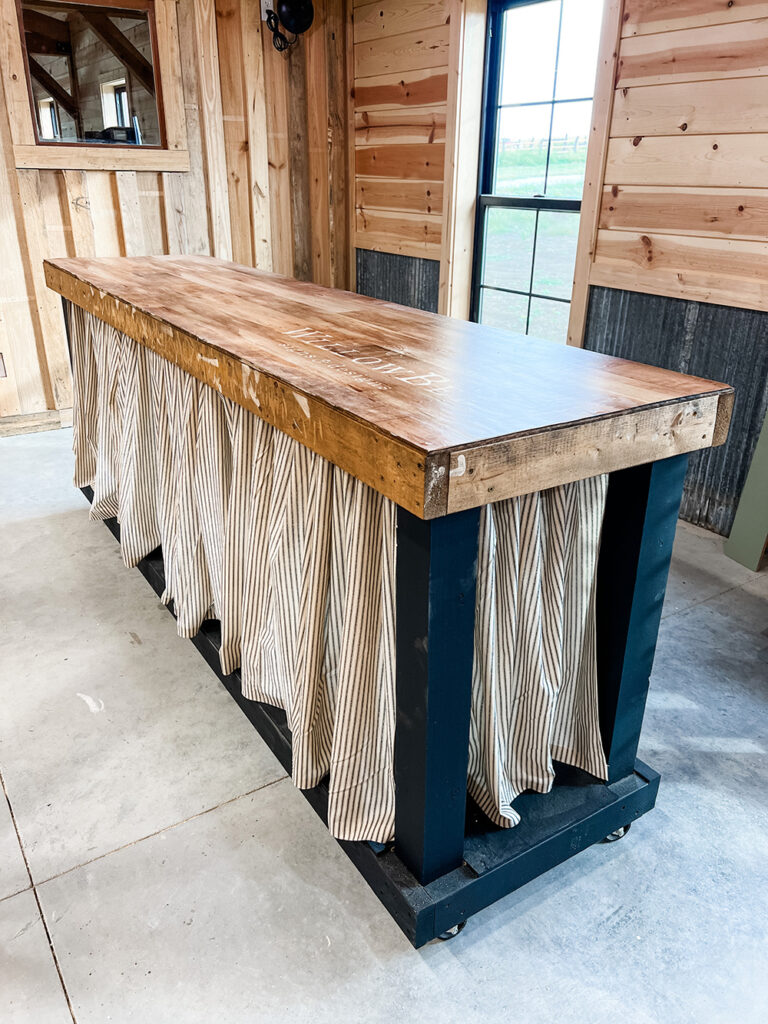
If you love a good (and easy) DIY, this one is for you! I made some no sew DIY curtains for the workbenches in our shop and they turned out so perfect. It was so simple and truly the easiest thing to do!
I have wanted to spruce up our workbenches for awhile and I think moving into the barn and having a brand new workshop gave me the push I needed to get them done. Ok, realistically I didn’t get them done in a day or even a week, but working on them in the evenings when I had time was more the timeline I was on. 🙂
The main reason I wanted to make the curtains for our workbenches was to hide all the crap! We have a bottom shelf on our benches that are perfect for storing all of our supplies, but I just wanted things to look a little more clean. And what better way to do that than just hide it all?! 😉 The curtains did just that and also added a nice little aesthetic touch. Even better, the supply list is small, but makes a big impact.
Supplies You’ll Need
- Fabric of Choice (I bought mine from Hobby Lobby)
- HeatBond Hem Adhesive
- Scissors
- Iron
- Curtain Tension/Rod
- Curtain Rings with Clips (Optional)
How To Make Your Curtains
1.) You’ll first want to measure and get the correct amount of fabric you need for your project. Cut it to size based on what you need. Be sure to include a bit of extra fabric to fold over to make a ‘pocket’ for your curtain rod to slide through. Also, your cuts don’t have to be completely perfect cause you will use the hem adhesive to clean up the edges of your fabric.
2.) Once you have your fabric cut, lay it on a flat surface and fold over one edge approximately an inch and make a crease in the fabric, then lay it flat on the table again. This just helps when adhering the hem tape to the fabric. Next, put a piece of hem adhesive down on the fabric and fold the fabric you just creased over the adhesive tape. You will then take your iron and run it over the top of the fabric to activate the adhesive and ultimately bond the fabric together. This just give each end of the fabric a nice, clean and crisp edge.
3.) I honestly did two methods to hang the curtain on the rod. One option is to use the hem adhesive and hem all four sides with that inch overlap and use curtain rings with clips as pictured below to hang your curtains. The second method is to create a ‘pocket’ on your fabric. You will hem three sides of the fabric with the one inch overlap, and the final, fourth side you will overlap your fabric 3″ or so. More less, just create enough overlap that the rod you’re using fits through the pocket. See below for a short video.
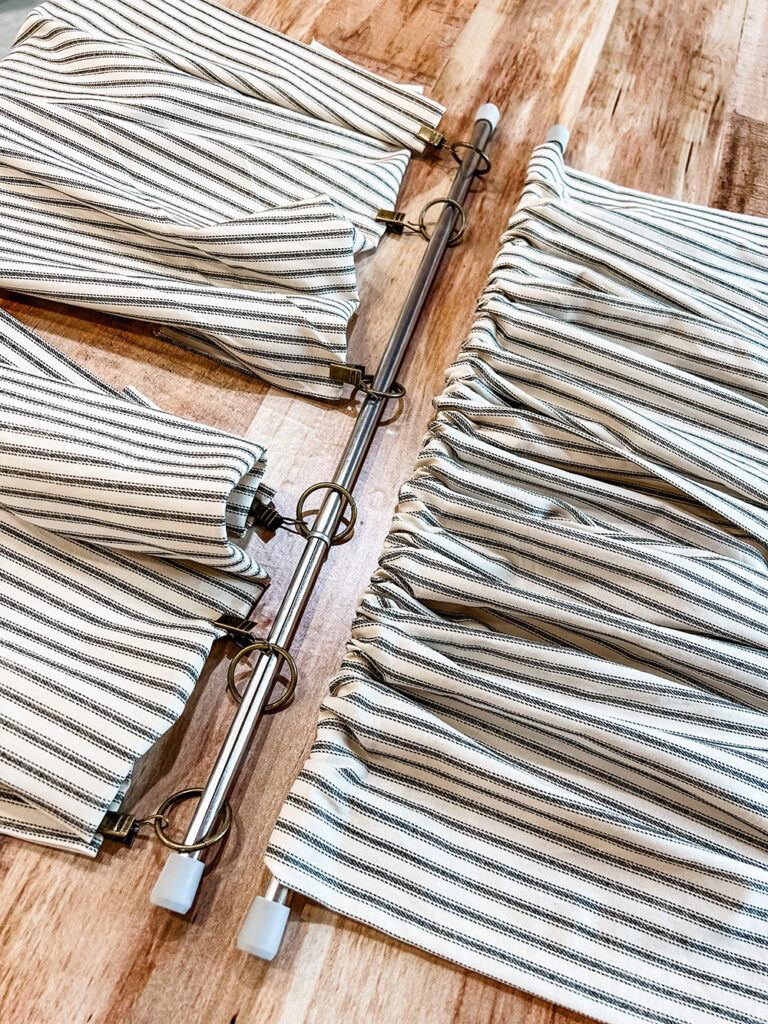
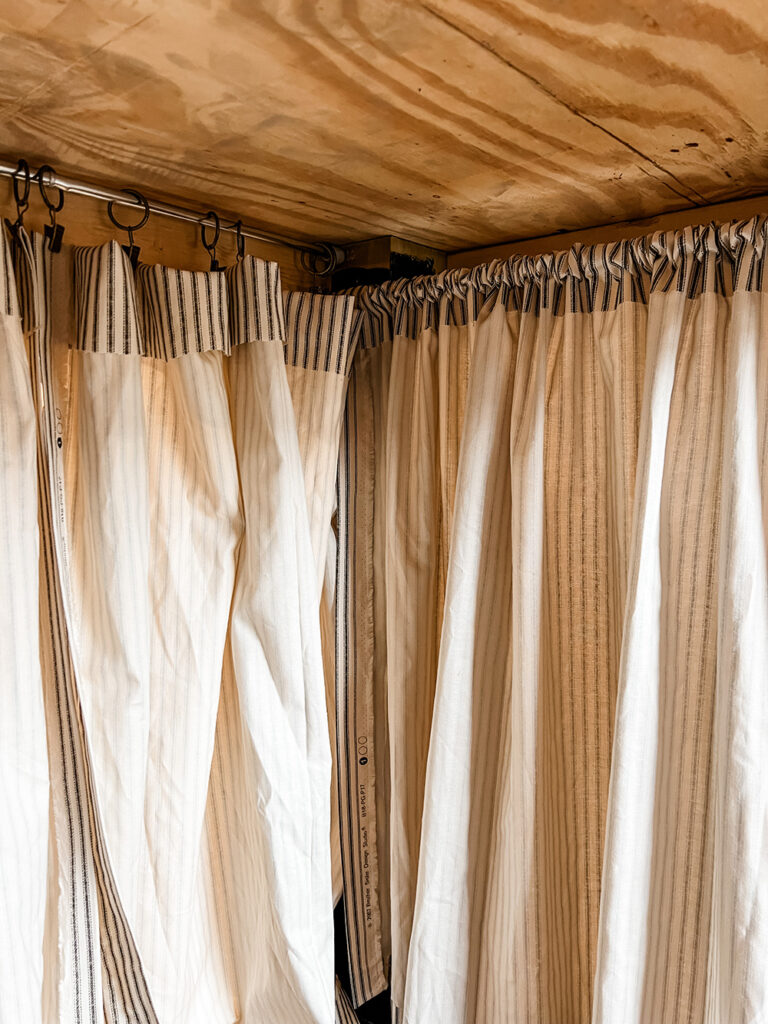
4.) From here, you literally just have to put your fabric on the rod. Seriously so EASY and no sewing involved!
5.) I then hung the tension rod on the under/inside of the workbench as pictured above. I just purchased the tension rods from Walmart, but here are some on Amazon as well. Since these aren’t seen, I wasn’t really worried about how they looked, but if you’re wanting an elevated look if they are going to be visible, Amazon does have various options!
A Few Things To Note
I did find that I liked the look of the pocket method a bit better than the clips. Ultimately where I am using them, you can’t see that part regardless, I just feel like the fabric drapes a bit better with the pocket method. If you do use this method and have a printed pattern on our fabric, just be sure your pattern is the correct way when making your pocket! I definitely messed this up and on the bee printed fabric I used, as some of the bees are pointing downward. Not a huge deal breaker at all for me, but just something to note. 🙂
On the panels where I used the clips, I did only hem three sides. Again, where we are using them, you can’t see the top of the curtain panel, so I didn’t hem that side. If you use this method and are hanging them in a more visible area, I would use the hem adhesive on all four sides.
You will see that I used a heat gun and a ruler for the hem adhesive. Honestly, I didn’t have an iron at our barn, so had to improvise a bit and the heat gun honestly worked perfect! And I just used the ruler since it has a nice flat edge.
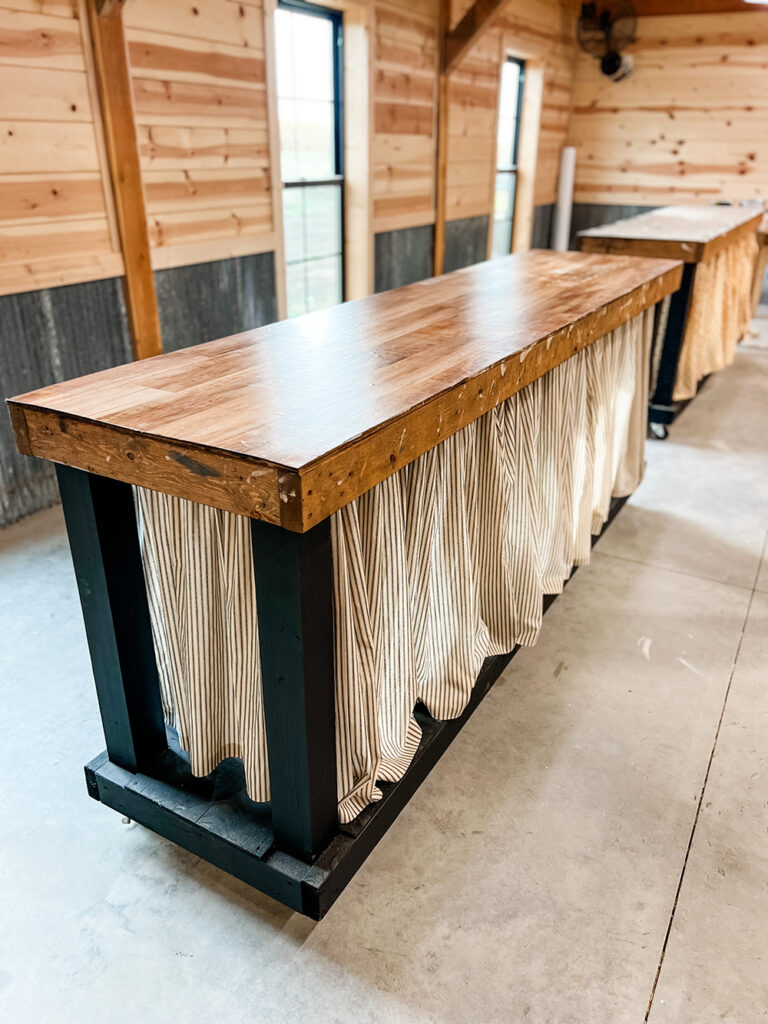
Overall, this was such an easy DIY project and can be used in any area where you might need to cover something up and a true curtain and rod won’t work. And I guess maybe one day I will learn how to properly sew, but until then, this method will be my go-to!

