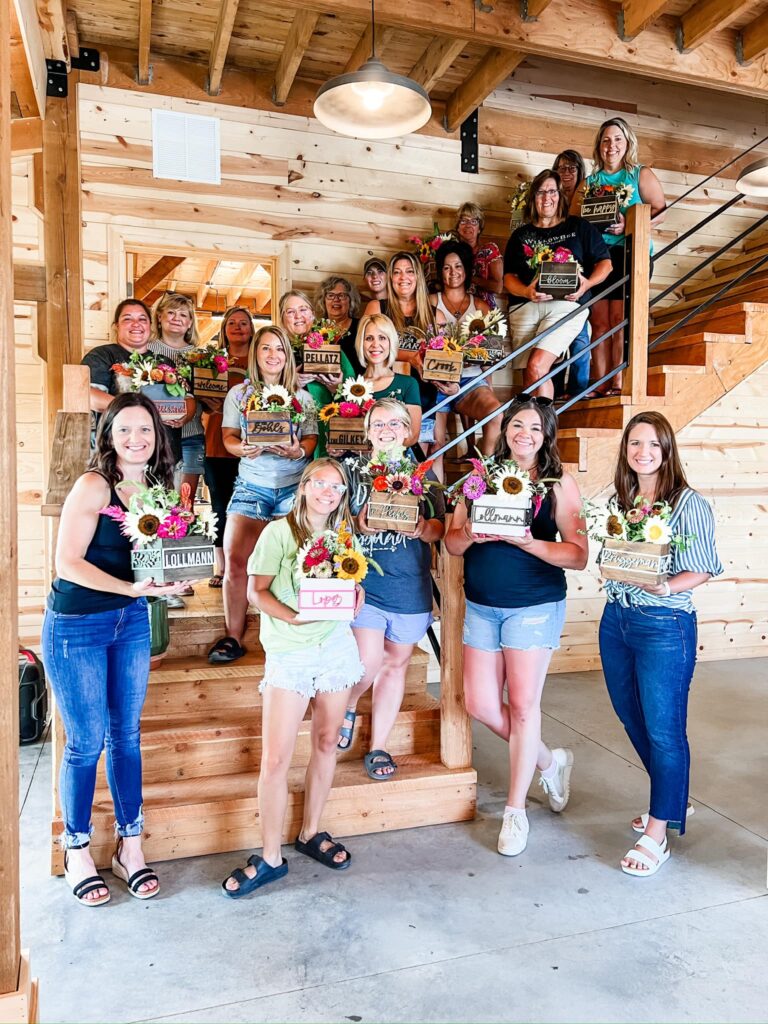
We have recently been hosting DIY classes at the barn that have been so fun! Our current class has been a Flower Jar-Bouquet Bar class where everyone gets to create their own flower jar [okay, it’s really a box, but I needed the name to rhyme 😉 ] with customized laser cut pieces that wrap around it, then we have various florals from a local grower where they get to make their own floral arrangement to put inside the box. It has been so fun to see what everyone comes up with for their color schemes and how they decide to arrange their florals.
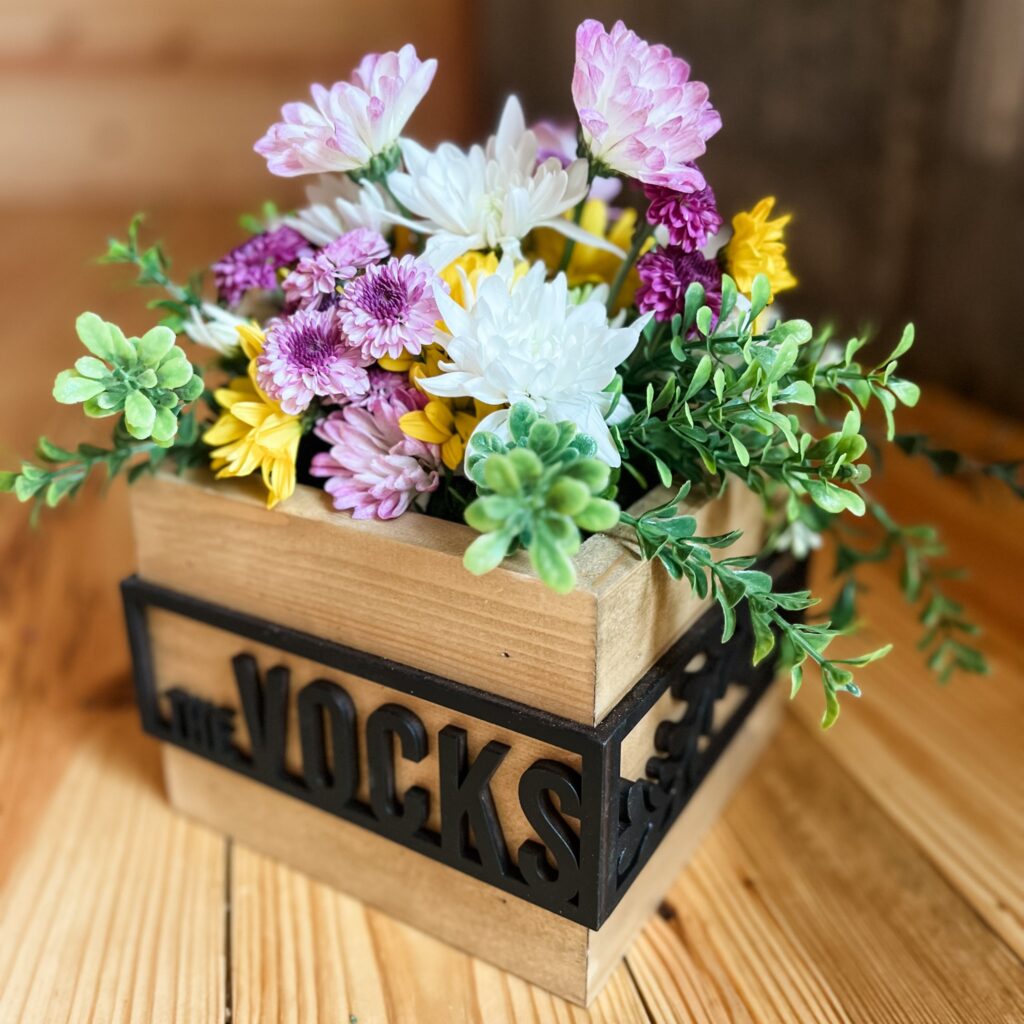
We do pre-make the boxes for the class, but if you are someone who likes to make things on your own, I wanted to show how we make the box, cause they are honestly so versatile and can be used in so many different ways! And they are not as hard as what you might think! See below for a breakdown of how we (ok that’s a lie…Tyler makes all of them, I don’t contribute at all, lol) make the boxes.
WHAT YOU WILL NEED:
- Miter Saw (or you can easily have your local lumber yard cut everything for you!)
- Lumber – 1x6x8/10…really however long you want the board, but more less just so it’s a 1×6
- Wood Glue
- Miter Clamps
- Hammer
- Hand Sander (or sandpaper would be fine, too!)
STEP BY STEP INSTRUCTIONS
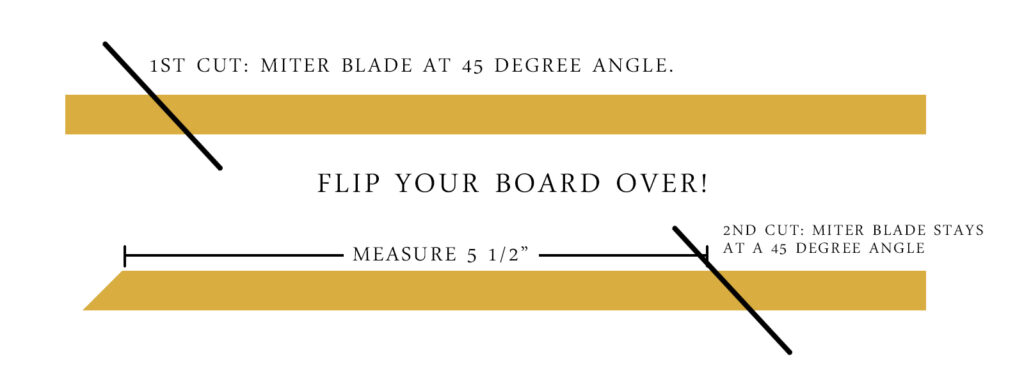
1.) Take your 1×6 and cut a 45 degree angle. You will then need to FLIP YOUR BOARD over. Next, measure 5 1/2″ from the INSIDE angle. Make a mark on your board and cut another 45 angle.
2.) You will just continue this process until you have all 4 sides to your box. I should note, we do have the set-up in our shop where we have a jig/stop when we are cutting multiple pieces at a time, but if that is something you do not have access to, you can still easily just measure each piece every time and cut. The jig/stop just allows us to cut and flip, cut and flip without stopping to measure every time. If you own a miter saw and don’t have a Kreg Trak and Stop Kit, you can see the one we have linked in our Amazon storefront.
3.) Once you have all 4 cut sides to your box, it’s time to glue and clamp together! We have found that gluing two sides together and clamping those two sides first is easier. See below for a few images to hopefully help better explain.
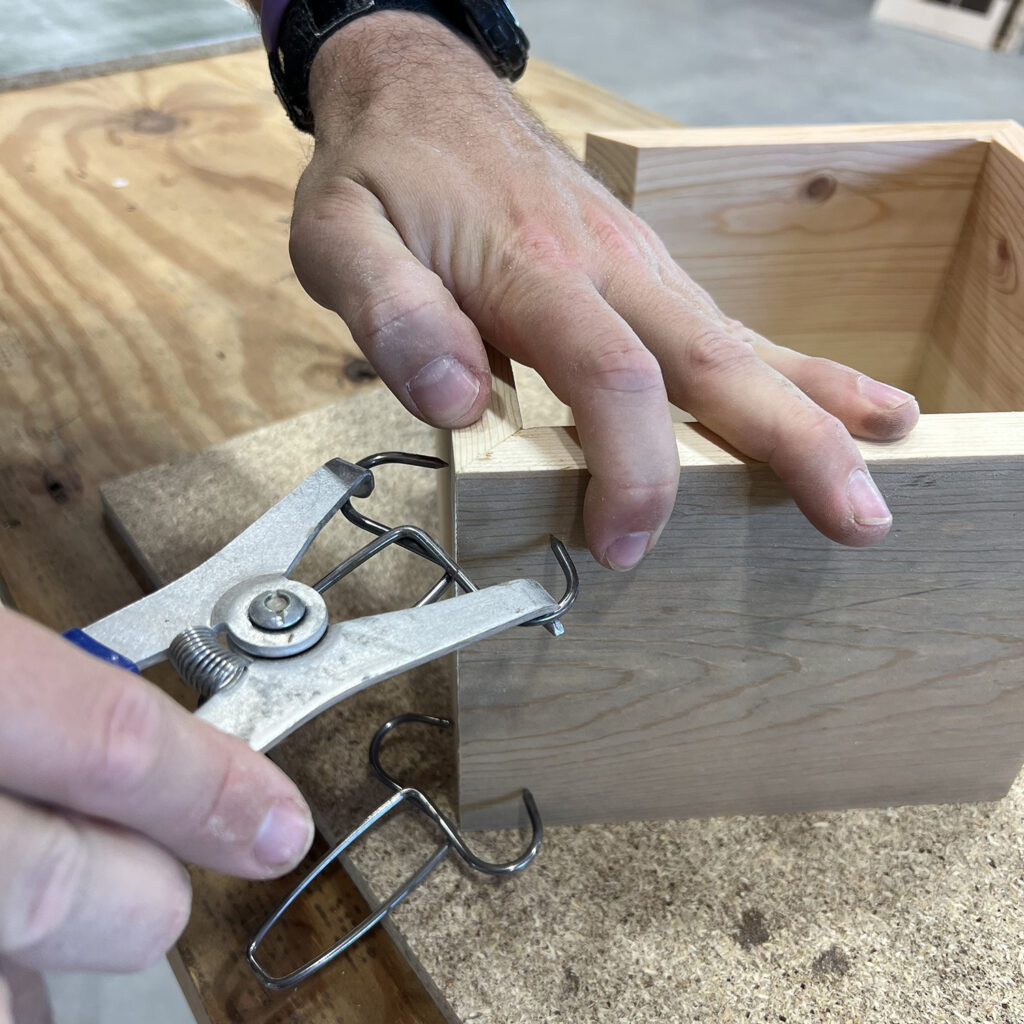
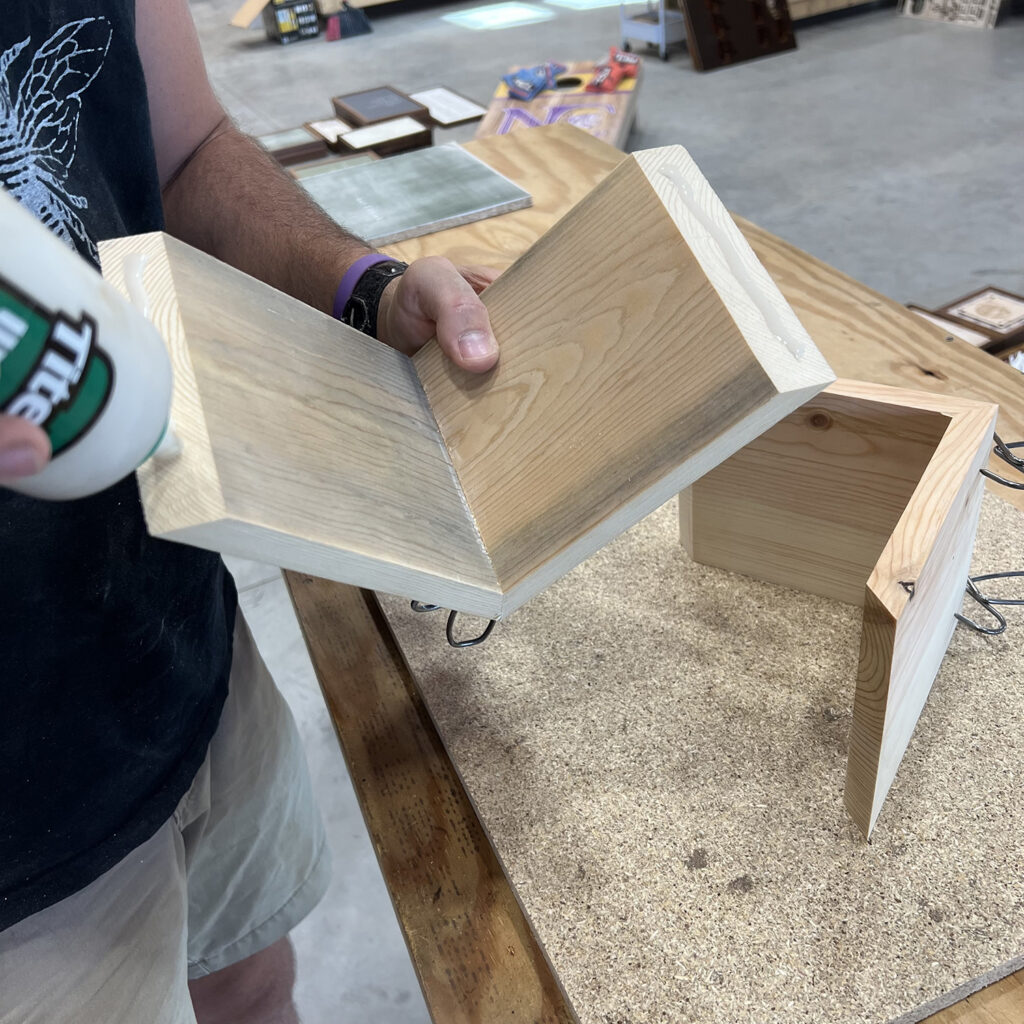
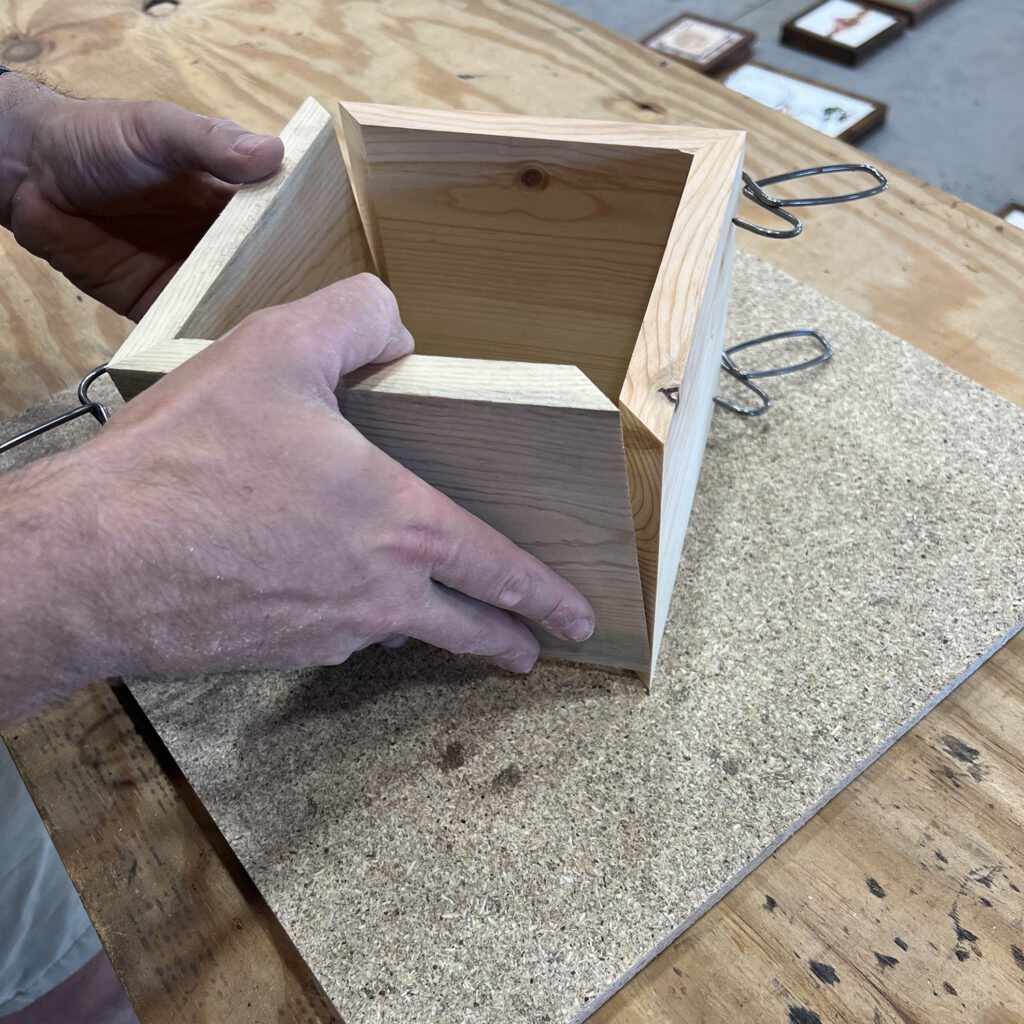
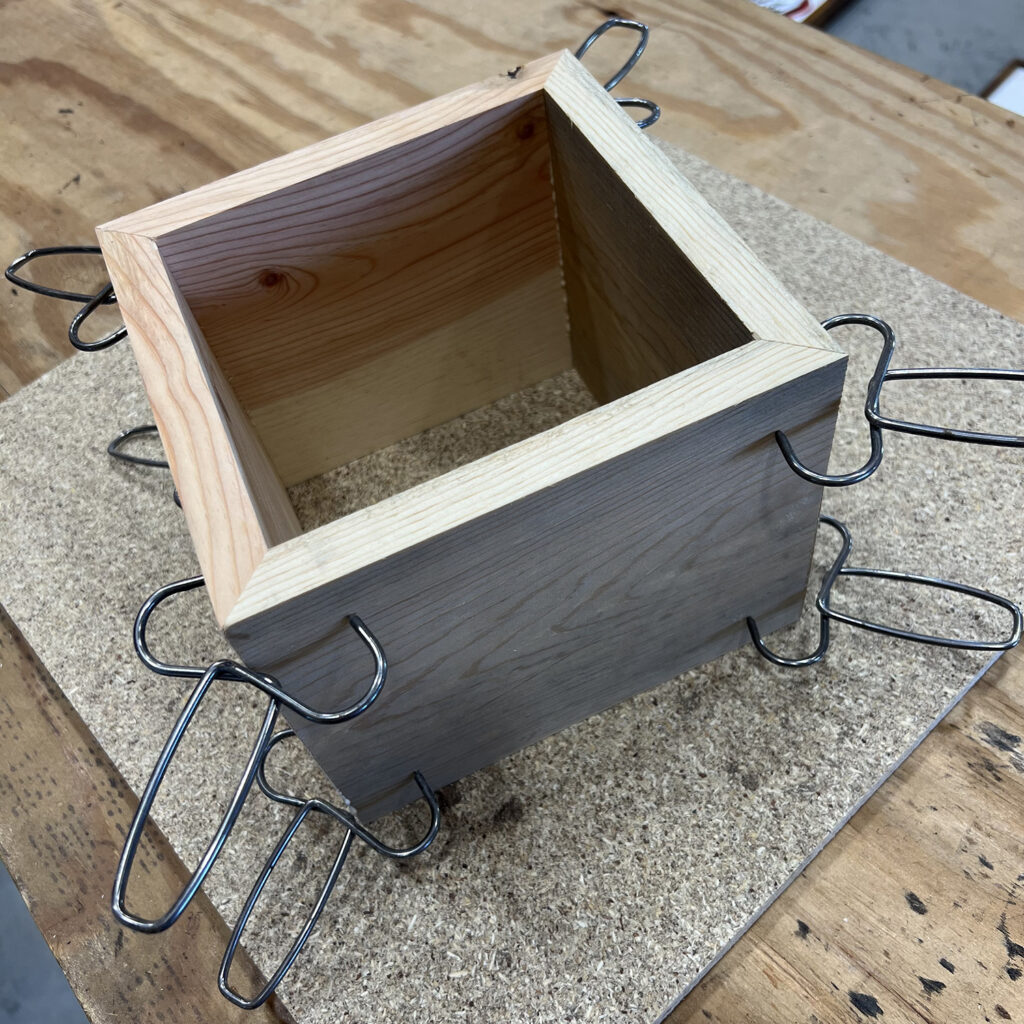
Once we have all 4 sides glued together we clamp the remaining sides to ensure the mitered edges are nice and snug. The clamps we use are listed here as well. The glue we use is also in our Amazon Storefront and is the Titebond III Ultimate Wood Glue.
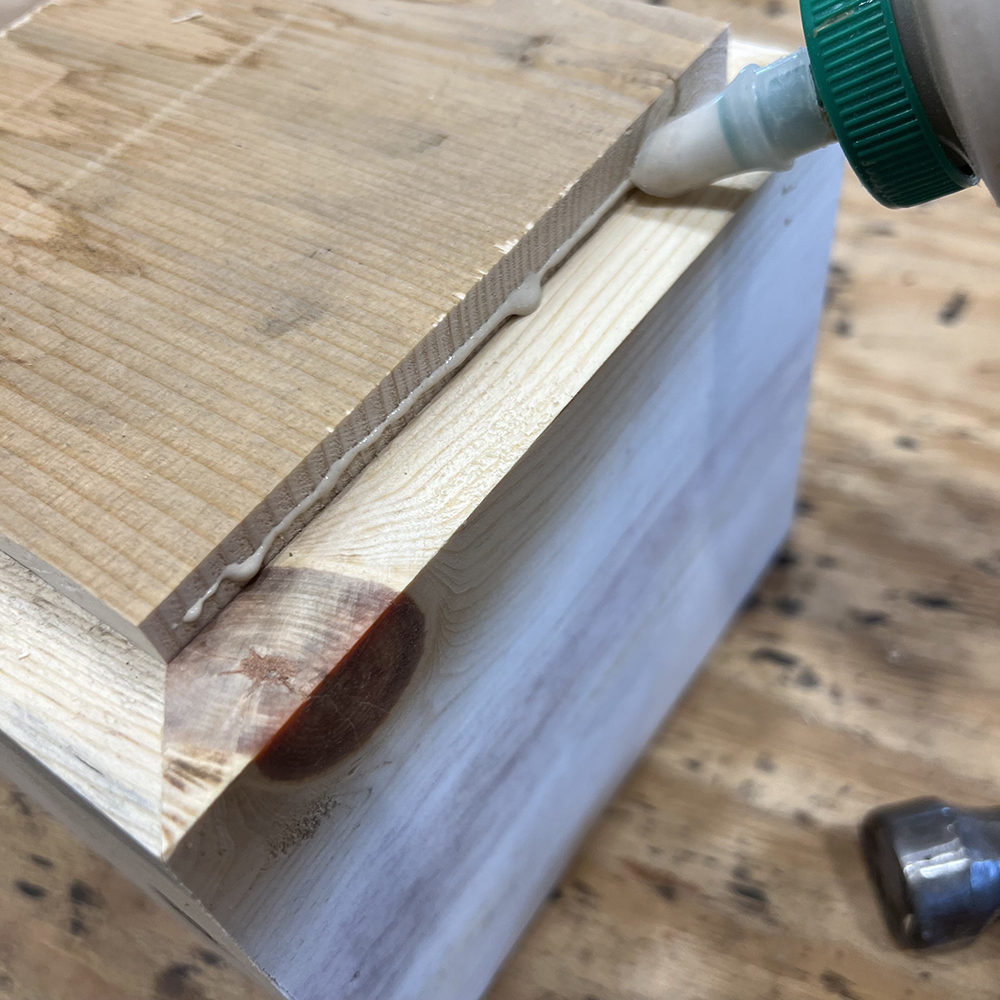
4.) Once the glue is dry, you can remove the clamps and we then insert the bottom piece of the box. The measurement on this be the same as your interior angled cut, so in this case 5 1/2″ x 5 1/2″. Same as the sides, we just put a bead of glue on the edge and used a hammer to tap it down in to place so it sits flat. I will say, you do want this piece to fit snug in the bottom, so do not cut shorter, if anything cut longer and tap in so it is nice and secure! You will have glue that pushes out, but you can just wipe that up with a wet paper towel.
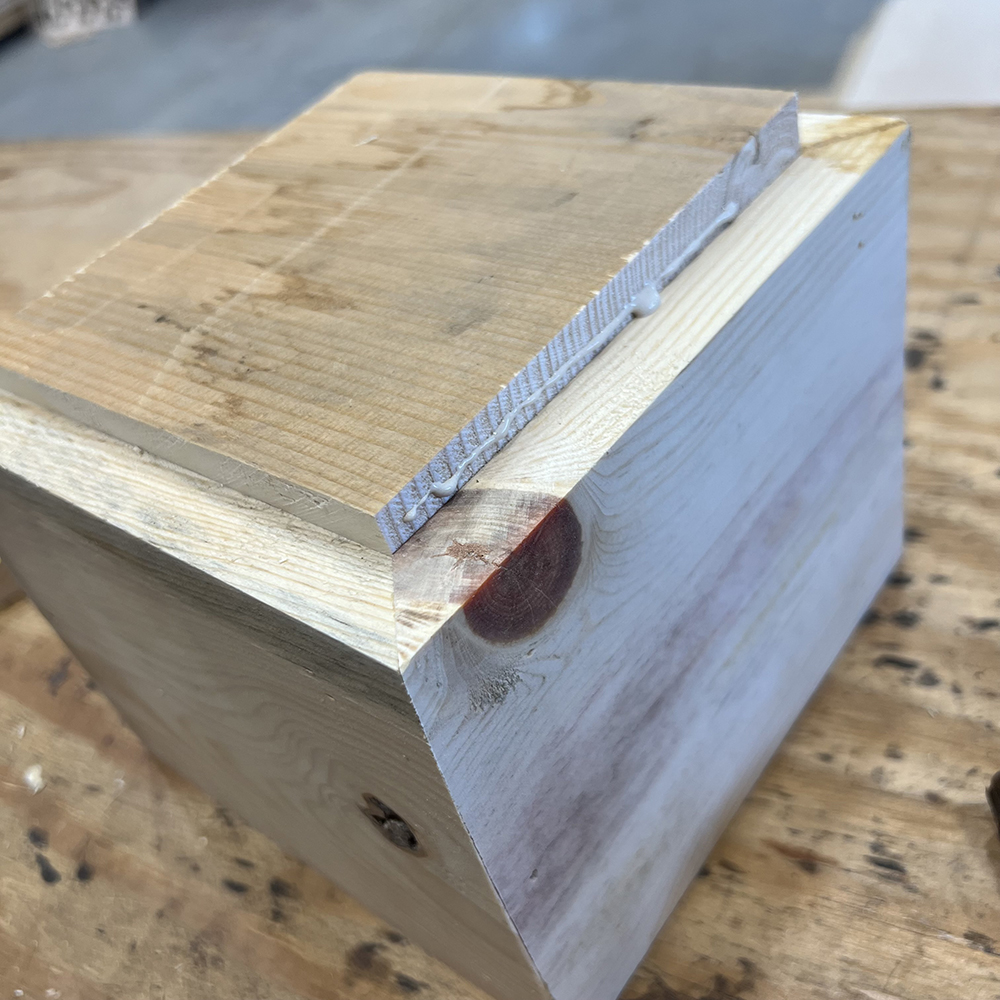
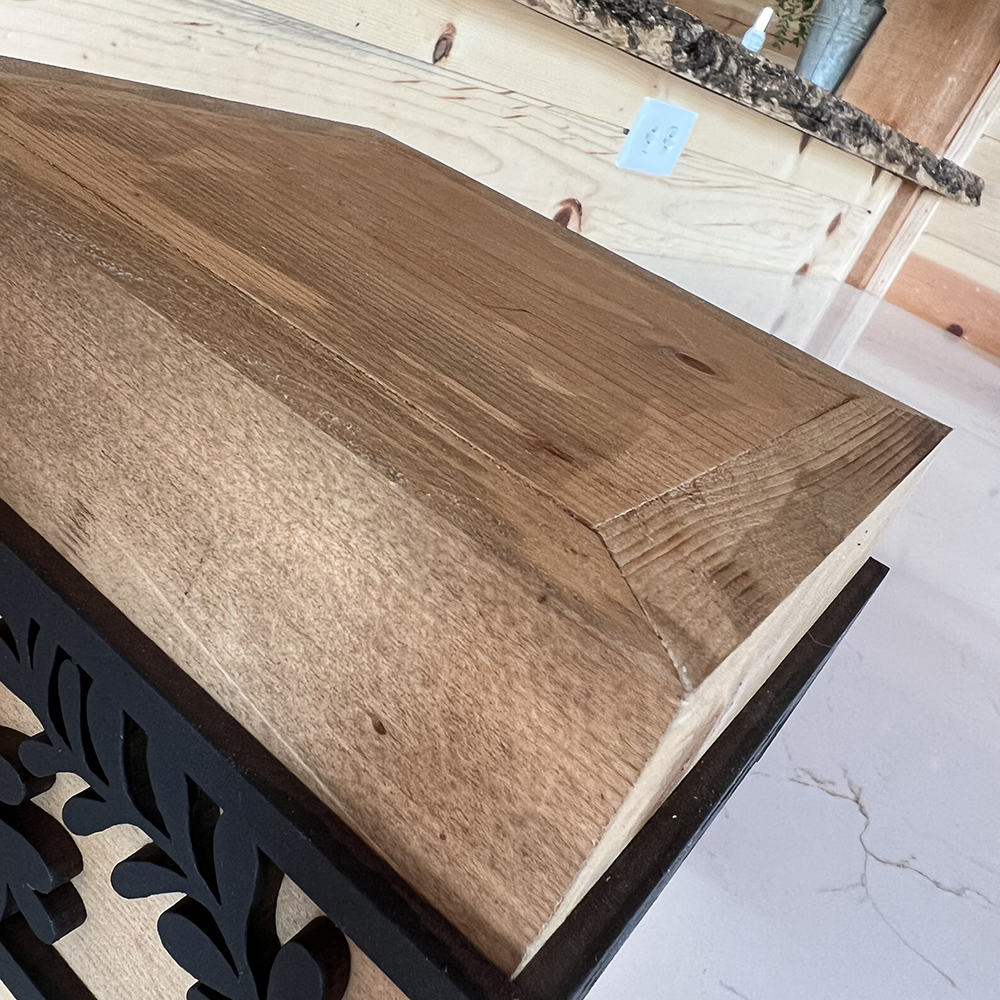
5.) Once the bottom piece is in, we just waited a bit for all glue to dry and then took our orbital sander and lightly sanded all sides with 120 grit sandpaper. This will also help clean-up any of the glue marks that may have dried on the wood. (This can easily be done by hand as well if you do not have access to a hand sander and just want to buy a sanding block or piece(s) of sandpaper!)
6.) From here, you can paint, stain and do whatever you want to finish off your box! As mentioned, for our classes we have laser cut pieces we add around the sides, so that is what you are seeing in the photos of the completed boxes. But you can really add anything you want to them!
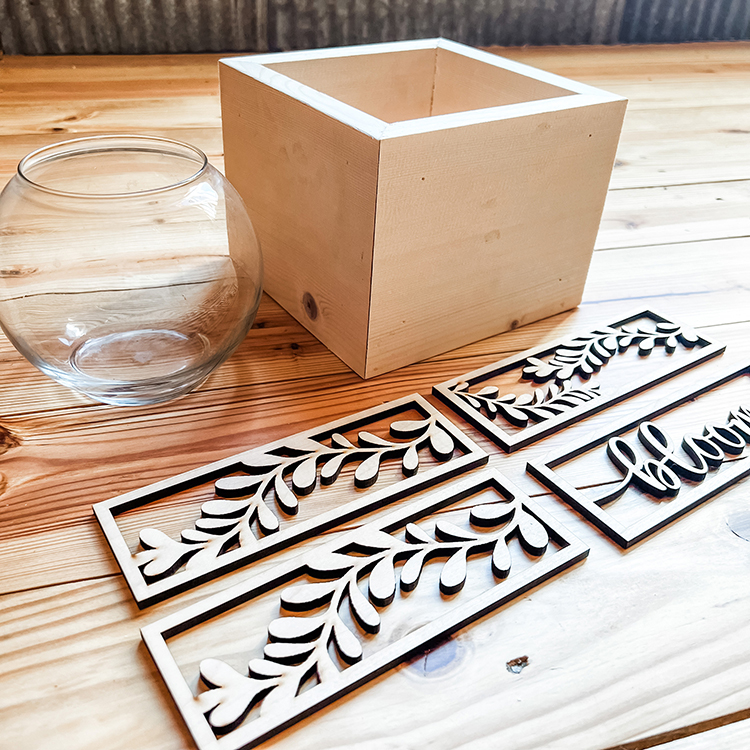

And that’s it! Even if you aren’t super handy with power tools, this is still something you CAN make! Just head to your local lumber yard and most often times they are more than willing to help you if you need assistance!
CUT LIST: if using a 1×6 board.
- 4 pieces cut at a 45 degree angle with the inside angle cuts at 5 1/2″. (See diagram above.)
- 1 square piece for the bottom cut to 5 1/2 x 5 1/2″.
a couple things to note:
I do want to mention, you can really use any width of board you want (it does not have to be a 1×6). It really just depends on how big of box you want! We honestly made our boxes from leftover lumber we had from building the barn, so our boxes were more like 5 3/4 x 5 3/4″ cause we were able to rip down the exact size we needed to fit our vases the flowers went in. But more less, when you are buying dimensional lumber (1×6, 1×8, 1×10. etc..) just know the actual width of those boards is smaller than that and you just need to cut your pieces to the same width of the board you end up buying.
For our classes, we do not seal the boxes with any type of poly, but you might consider that if you are wanting a more finished look to them!

